| I started with a kit from PCMods.com, though I ordered mine through Cyberguys because I wanted some of the nice case badges they have. The PcMods kit gives instructions, and claims to be a "tool-free" installation. I presume this means their kit is free from tools (it is), not that no tools are required: | ||
 |
 |
|
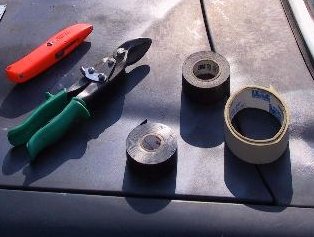
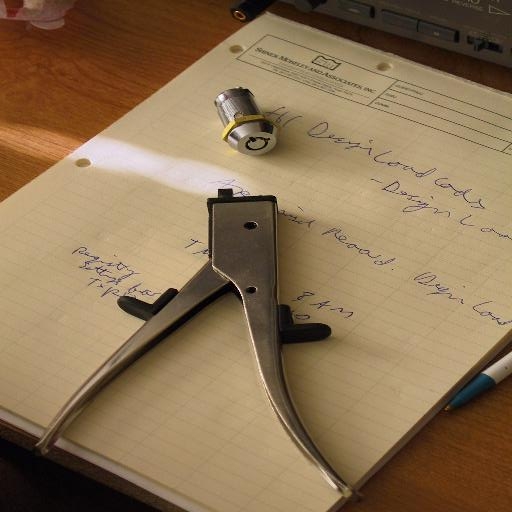
| Utility knife, Tin snips, electrical tape, masking tape | Nibbler (keylock for Part II) | |
| Also (not pictured), electric drill, pencil, ruler, band-aids, metal drill bit. | ||
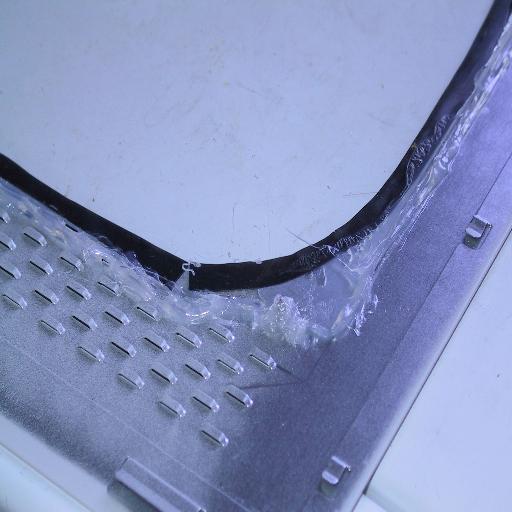
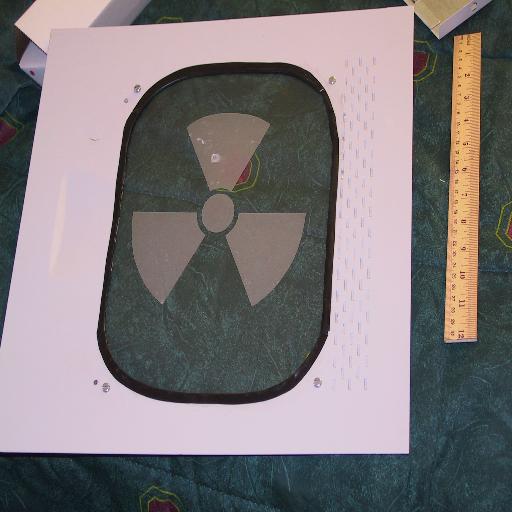
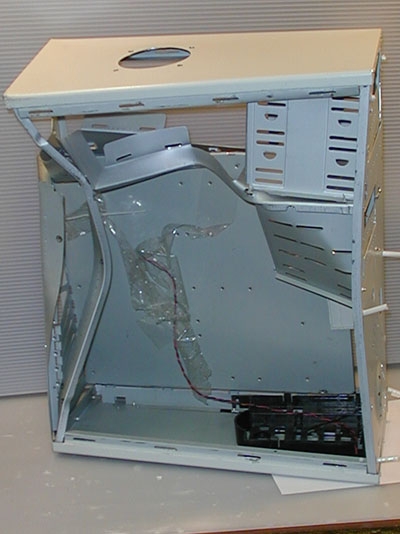
| After Cutting a hole in this side of my case panel, I noticed the major problem with their kit: it relies on you being able to hold the window in place using a rubber seal scientifically designed to not want to stay in the hole you cut. I tried tape, I tried various adhesives, but the rubber seal would not stay. In the end, I went and bought a sheet of plexiglass cut to 9.5" by 12.5, held it in place with screws and silicone adhesive (caulk), and covered up the edges of the hole using electrical tape. | ||
 |
 |
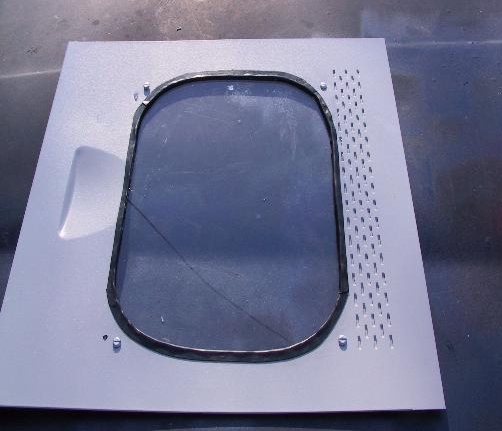 |
| Inside view. | Inside view (close-up) | Outside view (before trimming,distorted) |
 |
 |
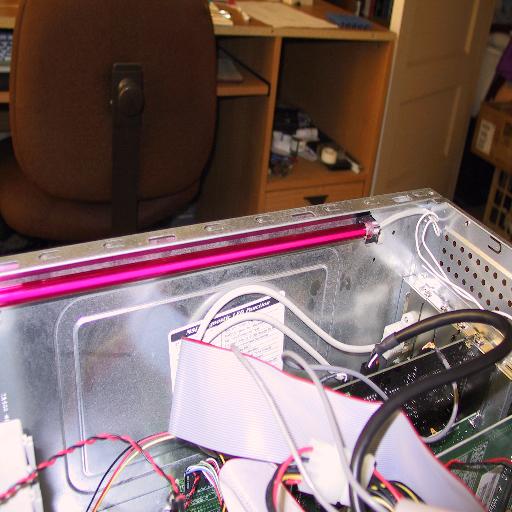 |
| (1) The sticker goes on the inside of the window (not yet smoothed out in this pic). (2) The switch to control the light went in a hole (which I cut) in the top of the case, and the light fixture itself (3) went on the relative bottom inside the case. | ||
 |
 |
 |
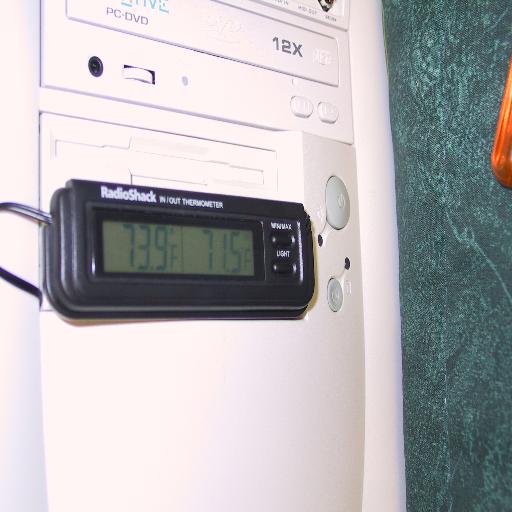
| (1) Becuase it was a cold-cathode light, there is a small circuit board to be mounted. I chose near my rear auxillary fan. (2) I decided I wanted to know inside and outside temperatures. (3) The sensor went on my hard drives, as I already have CPU and motherboard sensors built in. | ||
 |
 |
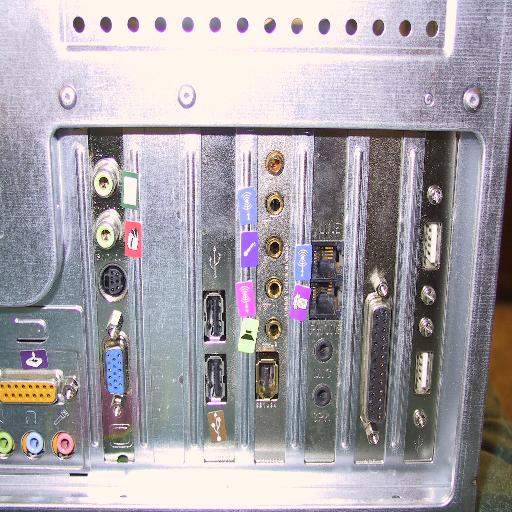 |
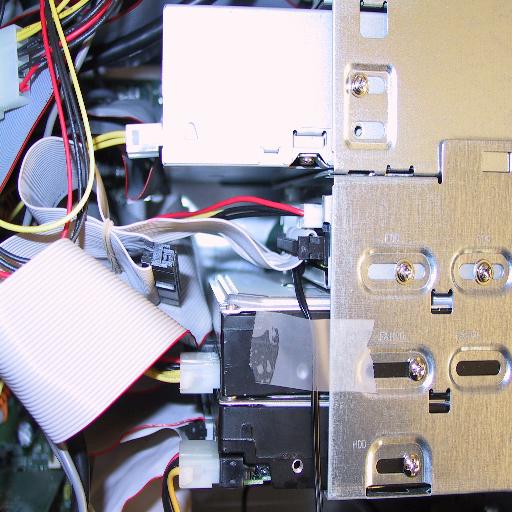
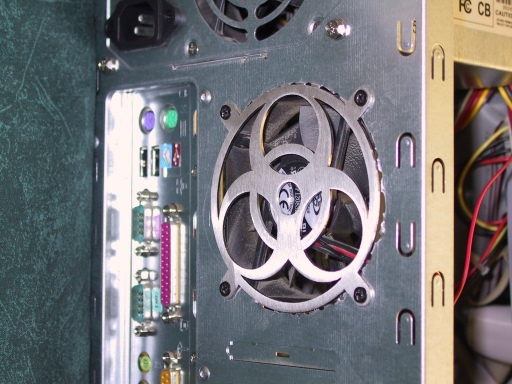
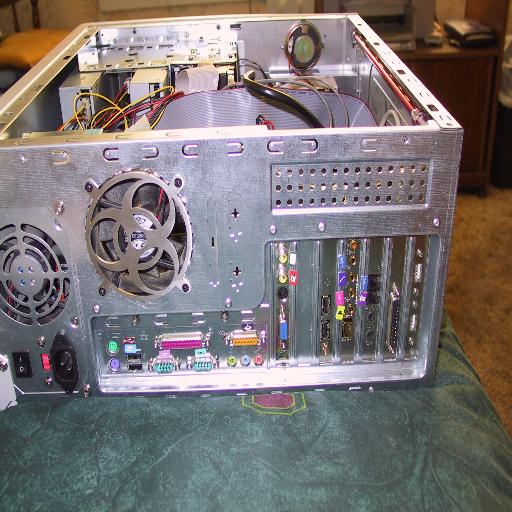
| (1) The old rear fan cover only allowed about 50% air flow, so I replaced it.(yes, I did smooth the edges and fill them afterwards) (2) I added color-coded labels for connectors and cables (the Audigy particularly, all the connectors are gold plated, and you can't tell what they are from an angle) (3) Close-up of labels (OK, so they're not perfect) | ||
 |
 |
 |
|
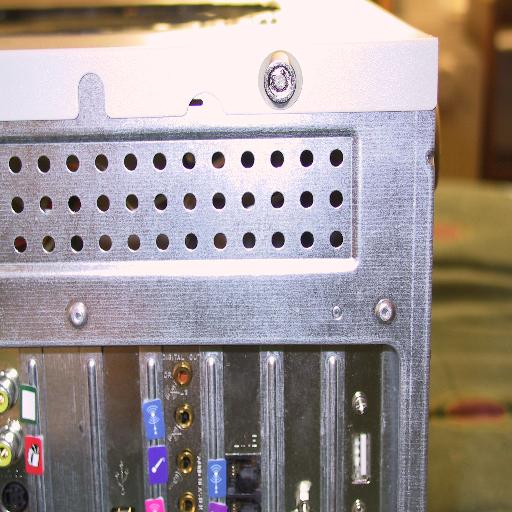
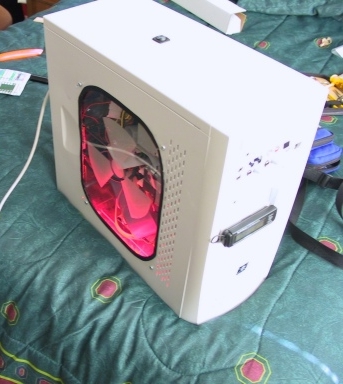
(1) One of the old case screws was replaced by a keyed-screw (2) Part I Completed (Off) (3) Part I Completed (On) - Daylight with flash. | ||
|
|
